
Cavapoo Care Guide, Grooming Guide
How To Trim Your Dog’s Nails Safely: A Complete Puppy and Dog Nail Care Guide
Aug
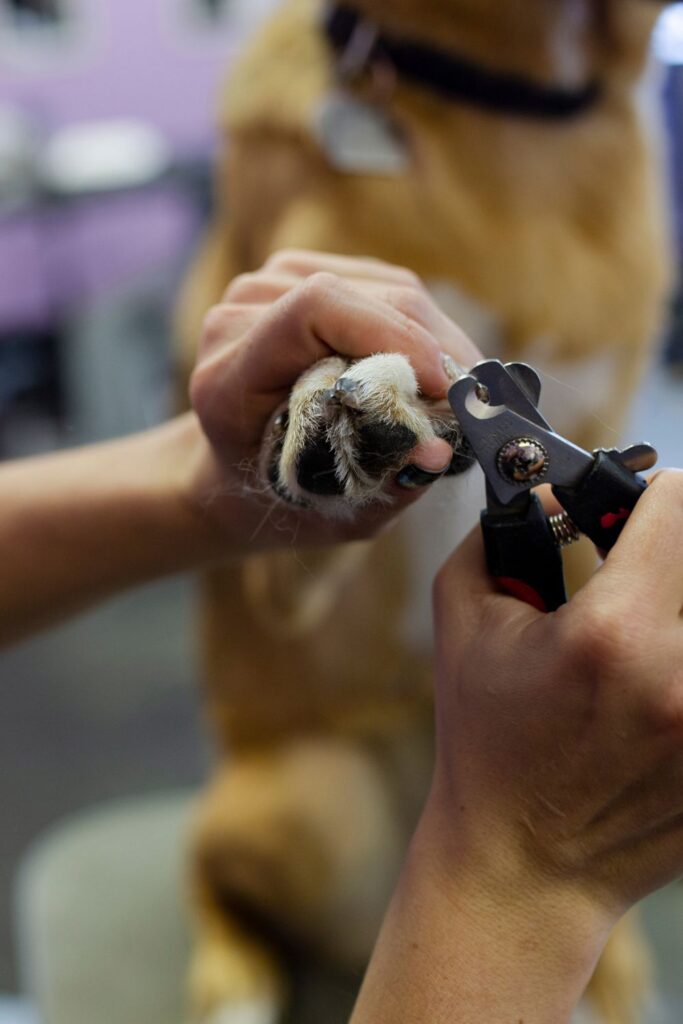
Regular nail care is an important part of responsible dog ownership. Long nails can affect the way a dog walks, reduce comfort, and increase the risk of painful breaks or other paw problems.
Learning how to trim your dog’s nails at home can save time and help your puppy become comfortable with routine grooming. However, nail trimming should always be approached patiently. Cutting too deeply can injure the quick, which contains blood vessels and nerves.
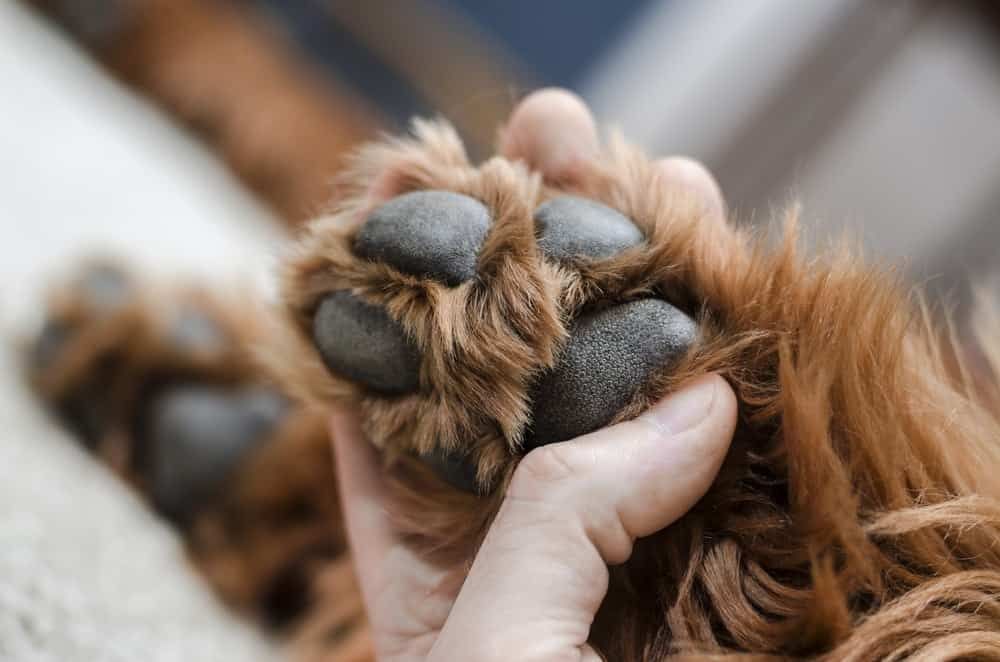
This guide explains how to trim your dog’s nails safely, how to identify the quick, what tools you need, and how to help a puppy become comfortable with nail care.
How To Trim Your Dog’s Nails Safely: Why Is Nail Trimming Important for Dogs?
A dog’s nails continue growing throughout life. Some dogs naturally wear their nails down through regular walking, especially when they spend time on firm surfaces. Other dogs need routine trimming to keep their nails at a comfortable length.
Overgrown nails can change the way a dog places its feet. Long nails can also catch on carpets, furniture, outdoor surfaces, or other objects. In severe cases, nails can curve into the paw pad and cause painful wounds.
Regular nail maintenance helps support comfortable movement and healthy paws. It also makes future nail trims easier because frequent trimming can help keep the quick from extending too far toward the end of the nail.
For Cavapoo owners, nail care should become part of the normal grooming routine. Our [Cavapoo Care Guide] includes additional information about grooming, exercise, nutrition, and everyday puppy care.
How To Trim Your Dog’s Nails Safely: Understanding the Parts of a Dog’s Nail
Before trimming your dog’s nails, it helps to understand what you are cutting.
The hard outer portion of the nail is commonly called the shell. Inside the nail is the quick, which contains blood vessels and nerves.
The quick is usually easier to see in dogs with light-colored nails. It appears as a pink area inside the nail. Dark nails are more difficult because the quick may not be visible from the outside.
Cutting into the quick can cause pain and bleeding. That is why it is better to remove small amounts of nail rather than making one large cut.
If you are uncertain about where the quick is located, ask your veterinarian or professional groomer to demonstrate the process before attempting a full nail trim at home.
How Often Should You Trim Your Dog’s Nails?
There is no single schedule that works for every dog.
Many dogs need their nails trimmed approximately every three to four weeks, although the ideal frequency depends on nail growth, activity level, lifestyle, and the surfaces your dog regularly walks on.
Instead of relying only on the calendar, regularly check your dog’s paws.
If the nails are touching the ground when your dog stands naturally, becoming visibly long, or clicking noticeably on hard floors, they may need attention.
Some dogs will need more frequent trims, while active dogs that regularly walk on appropriate hard surfaces may naturally wear their nails down more.
How To Trim Your Dog’s Nails Safely: What You Need Before Trimming Your Dog’s Nails
Gather everything before bringing your dog over for the nail trim.
Useful supplies include:
- Dog-specific nail clippers
- A dog nail grinder, if preferred
- Styptic powder or another veterinary-approved clotting product
- Small treats
- A towel or nonslip surface
- Good lighting
- A calm, quiet area
There are several types of nail clippers and grinders available. The best option is the one that gives you good control and that your dog can tolerate comfortably.
A grinder can also be useful for smoothing sharp edges after clipping. However, the sound and vibration should be introduced gradually so your dog does not become frightened.
Step 1: Get Your Dog Comfortable With Paw Handling
Do not immediately begin cutting your puppy’s nails the first time you touch their paws.
Instead, start by gently handling the paws.
Touch one paw, give your puppy a treat, and then stop. Repeat this process regularly.
Once your puppy is comfortable, gently hold a toe. Reward calm behavior again.
The goal is to teach your puppy that having their paws handled is normal and safe.
This process is especially valuable during puppyhood. Dogs that become accustomed to grooming and handling early in life often have an easier time with routine nail care later.
Step 2: Introduce the Nail Clippers
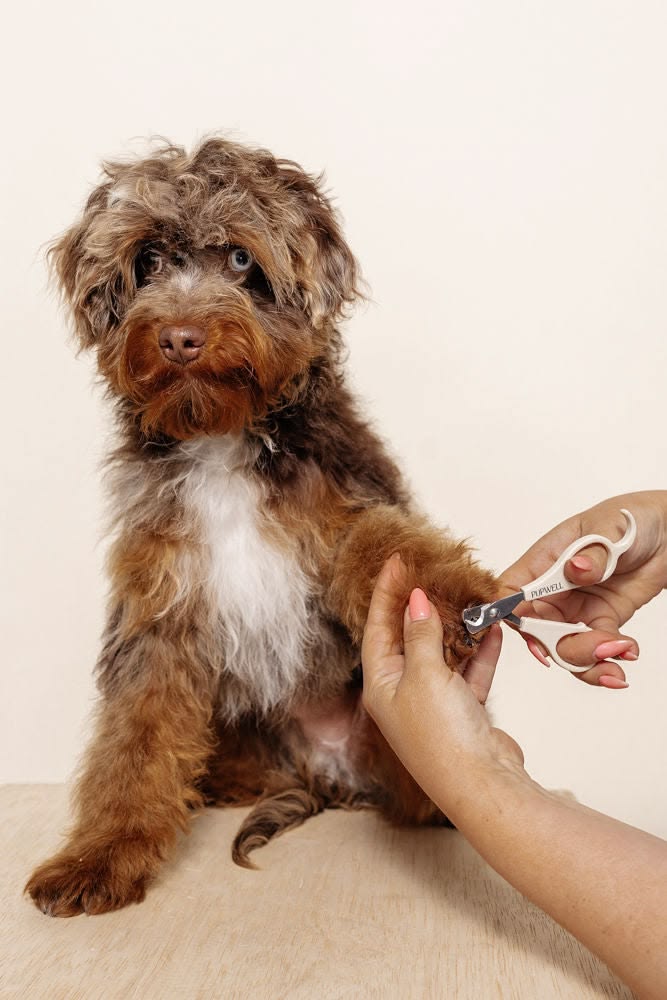
Once your puppy accepts paw handling, introduce the nail clippers.
Let your puppy see and smell the tool without using it.
Reward calm behavior.
You can gradually move the clippers closer to the paw. Eventually, touch the clippers against the nail without cutting.
If you use a grinder, introduce the sound separately. Turn it on several feet away for a few seconds, reward your puppy, and turn it off.
Repeat this over several short sessions.
The objective is to create a positive association with the grooming equipment rather than forcing your puppy to tolerate something frightening.
Step 3: Hold the Paw Gently
When your dog is relaxed, gently pick up one paw.
Use your fingers to separate the individual toe you want to work on. Keep the fur away from the nail so you can clearly see what you are doing.
Do not squeeze the paw unnecessarily.
Your dog may become uncomfortable if you hold the foot too firmly, especially if this is their first nail trim.
Take your time and reward calm behavior throughout the process.
Step 4: Trim Only a Small Amount
This is one of the most important rules of dog nail trimming.
Take small pieces rather than attempting to remove a large section at once.
With light-colored nails, look for the pink quick inside the nail. Leave a small margin between your cut and the quick.
With dark nails, take only a tiny amount at a time. Inspect the nail after each small cut.
As you get closer to the quick, the center of the nail can change in appearance and texture. Stop before you reach the quick.
If you are nervous about doing this yourself, there is nothing wrong with having a veterinarian or groomer handle the first trim while you learn.
Step 5: Do Not Forget the Dewclaws
Dewclaws are easy to overlook.
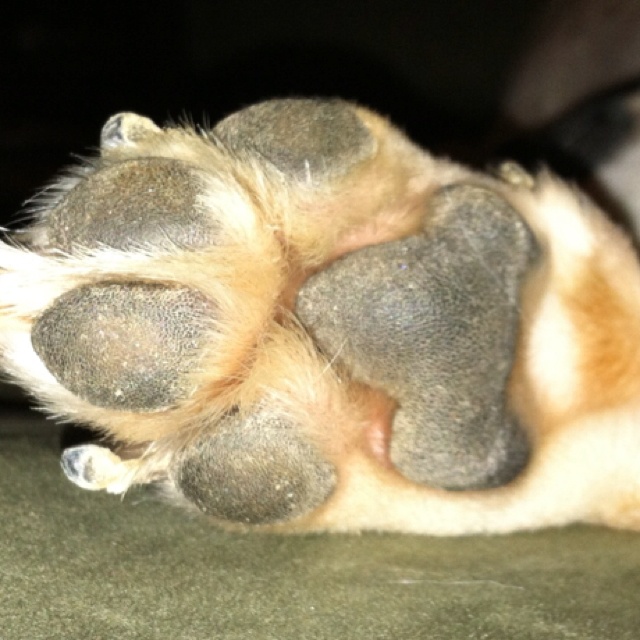
They are located higher on the inside of some dogs’ paws and do not always contact the ground. Because they receive less natural wear, they can become overgrown.
An excessively long dewclaw can curl around and potentially grow into the paw pad.
Check the dewclaws whenever you inspect your dog’s nails.
Step 6: Finish With a Nail Grinder If Your Dog Tolerates It
Some owners prefer to use a dog-specific grinder after clipping.
A grinder can smooth rough or sharp edges and may be a good option for dogs that dislike the pressure associated with clippers.
However, grinders require careful handling.
Work on small sections and avoid holding the grinder against one part of the nail for too long. Excessive friction can generate heat and make your dog uncomfortable.
If your dog becomes stressed by the sound or vibration, stop and continue training at another time.
What If You Accidentally Cut the Quick?
Even experienced groomers can occasionally cut the quick.
If this happens, remain calm.
Apply an appropriate styptic or clotting product to the nail and follow the product instructions. Minor bleeding can often be controlled with a clotting product.
If bleeding continues or you are concerned about the injury, contact your veterinarian for guidance.
The most important thing is not to panic. Your dog can also react to your emotions, so staying calm can help prevent the experience from becoming more frightening.
After the bleeding is controlled, give your dog a break and use positive reinforcement.
You may need to spend some time rebuilding your dog’s confidence before attempting another trim.
What If Your Puppy Hates Nail Trimming?
Do not force your puppy through an entire nail trim simply because you want to finish the job.
For some puppies, the first successful session may involve touching the paws and clipping only one nail.
That is completely fine.
You can gradually progress from:
- Touching the paw.
- Holding the paw.
- Touching each toe.
- Showing the clippers.
- Touching the clippers to the nail.
- Clipping one nail.
- Clipping two nails.
- Completing one paw.
- Eventually completing the entire nail trim.
VCA recommends using gradual desensitization and positive reinforcement, with short sessions that stop before the dog becomes overwhelmed.
For intelligent companion breeds such as Cavapoos, making grooming a predictable and rewarding routine can be especially helpful.
Should You Clip or Grind Your Dog’s Nails?
Both methods can work when performed correctly.
Nail Clippers
Clippers are quick and straightforward when your dog accepts them.
They are especially useful when the nails need a noticeable amount removed.
Nail Grinder
A grinder can gradually smooth the nail and leave a rounded edge.
Some dogs tolerate grinding better than clipping, while other dogs dislike the vibration and noise.
There is no requirement to use one particular method.
Choose the method that provides good control and keeps your dog calm and comfortable.
How to Make Nail Trimming Easier
The easiest nail trim is usually the one your dog has learned to accept gradually.
Try these simple strategies:
Keep Sessions Short
Do not make every grooming session a major event.
A few minutes of calm practice can be more productive than one long session.
Use High-Value Rewards
Small treats can help your puppy associate nail care with something positive.
Give rewards for calm behavior, not only after the final nail is finished.
Choose a Quiet Location
Avoid trimming nails when your home is noisy or your dog is already excited.
A calm environment can make it easier for your dog to focus.
Trim After Appropriate Activity
Some dogs are more relaxed after a normal walk or play session.
However, never trim nails when your dog is exhausted, distressed, or physically uncomfortable.
Take Breaks
If your puppy becomes nervous, stop.
You can always continue later.
When Should a Professional Trim Your Dog’s Nails?
There is no reason to feel embarrassed about asking for professional help.
A veterinarian or qualified groomer can be especially helpful when:
- Your dog strongly resists handling.
- The nails are severely overgrown.
- The nails are dark and difficult to assess.
- You are uncomfortable identifying the quick.
- A nail is broken or injured.
- Your dog has a painful paw condition.
- Previous nail trims have caused significant fear.
- You are worried about accidentally hurting your dog.
Professional nail trimming is a routine grooming service, and veterinary professionals can also help teach owners how to safely perform basic nail care at home.
Nail Care for Cavapoo Puppies
Cavapoos need regular grooming because their coat requires ongoing maintenance.
Nail care should be introduced alongside brushing, bathing, ear care, and other handling exercises.
Our [Cavapoo Care Guide] provides a broader overview of grooming and daily care for Cavapoo puppies.
Starting these routines while your Cavapoo is young can make future grooming sessions much easier.
You can also learn more about the breed through our [Cavapoo Breed Guide] and explore our [Available Cavapoo Puppies] when you are ready to find your next companion.
Frequently Asked Questions About Trimming Dog Nails
How often should I trim my dog’s nails?
Many dogs need a nail trim every three to four weeks, but the correct frequency varies. Check your dog’s nails regularly and adjust the schedule according to growth and activity.
Can I trim my puppy’s nails?
Yes. Puppies can be introduced to nail care early. Start slowly with paw handling, rewards, and very small trimming sessions.
What happens if I cut the quick?
Cutting the quick can cause pain and bleeding. Apply a suitable styptic or clotting product and contact your veterinarian if bleeding does not stop or you are concerned about the injury.
How can I tell where the quick is?
The quick is usually visible as a pink area inside light-colored nails. With dark nails, it can be difficult to see, so remove very small pieces at a time.
Should I trim the dewclaws?
Yes. Check the dewclaws regularly because they may not naturally wear down against the ground and can become excessively long.
Is a nail grinder better than clippers?
Neither method is universally better. Some dogs prefer grinding, while others tolerate clippers more easily. Use whichever method you can control safely and introduce gradually.
What should I do if my dog refuses to let me trim the nails?
Stop rather than forcing the procedure. Return to basic paw-handling exercises and use positive reinforcement. If the nails need immediate attention, consider having a veterinarian or professional groomer perform the trim.
Final Thoughts
Learning how to trim your dog’s nails does not have to be stressful.
The most important principles are patience, preparation, small cuts, positive reinforcement, and knowing when to ask for professional help.
Start nail handling early, make the experience rewarding, and never rush through a trim simply because you want to finish all four paws at once.
For puppies, especially, building trust is more important than completing a perfect nail trim on the first attempt.
With regular practice, your dog can learn that paw handling and nail maintenance are simply another normal part of life.
Continue Learning About Cavapoos
- [Cavapoo Care Guide]
- [Cavapoo Breed Guide]
- [Cavapoo Buying Guide]
- [How to Train a Cavapoo Puppy]
- [Available Cavapoo Puppies]
- [Questions to Ask Before Buying a Cavapoo Puppy]
Trusted External Resources
For additional professional guidance on safe dog nail trimming, consult the [American Kennel Club’s dog nail trimming guide] and [VCA Animal Hospitals’ guide to trimming dog nails]. These resources provide additional information about the quick, nail grinders, gradual training, and safe trimming techniques.
